
Contents6
2026-05-16 update: This post is a few years old now. The skeleton — create an account, create a team, create a file — still holds, but the UI details and labels are left as they were at the time. Today’s Figma has added Dev Mode, Variables, stronger Auto layout, and other features that didn’t exist back then. Read it alongside the current screens.
This is a walkthrough of what Figma is, and what it takes to get to your first design file. Three steps — account, team, file — in order, and the UI design canvas is right there.
Understand what Figma is
Figma is a UI design tool that runs in the browser. No install needed; open a URL and the editor is right there.
There are other prototyping tools out there, but for getting the shape of Figma, two characteristics stand out:
- The work lives in the cloud
- Multiple people can edit at the same time
The work lives in the cloud
Figma files live in the cloud, and editing happens inside the browser.
As long as the account exists, any PC with a browser can sign in and read or edit the current file. There’s nothing to install locally.
Multiple people can edit at the same time
The defining feature of Figma is that multiple people can edit the same file simultaneously.
For solo use the benefit is thin, but for prototyping at work it removes the usual friction of zipping files, mistaking which copy is the latest, and so on.
Note: it’s especially good in remote meetings. You can share your screen and fix things live as the conversation happens.
Create an account
To actually start using it, the first step is creating a Figma account.
Open the official site and head to signup.

The page above loads up. Click the Sign up button in the red box.
That opens the new-account modal.
Signing up with a Google account is the least friction and what I’d recommend. Email also works fine.
Create a team
Once the account is created and signed in, the next step is to create a team.
A team is similar to a folder on a PC. You create the team folder first, and design files go inside it — that’s the hierarchy.
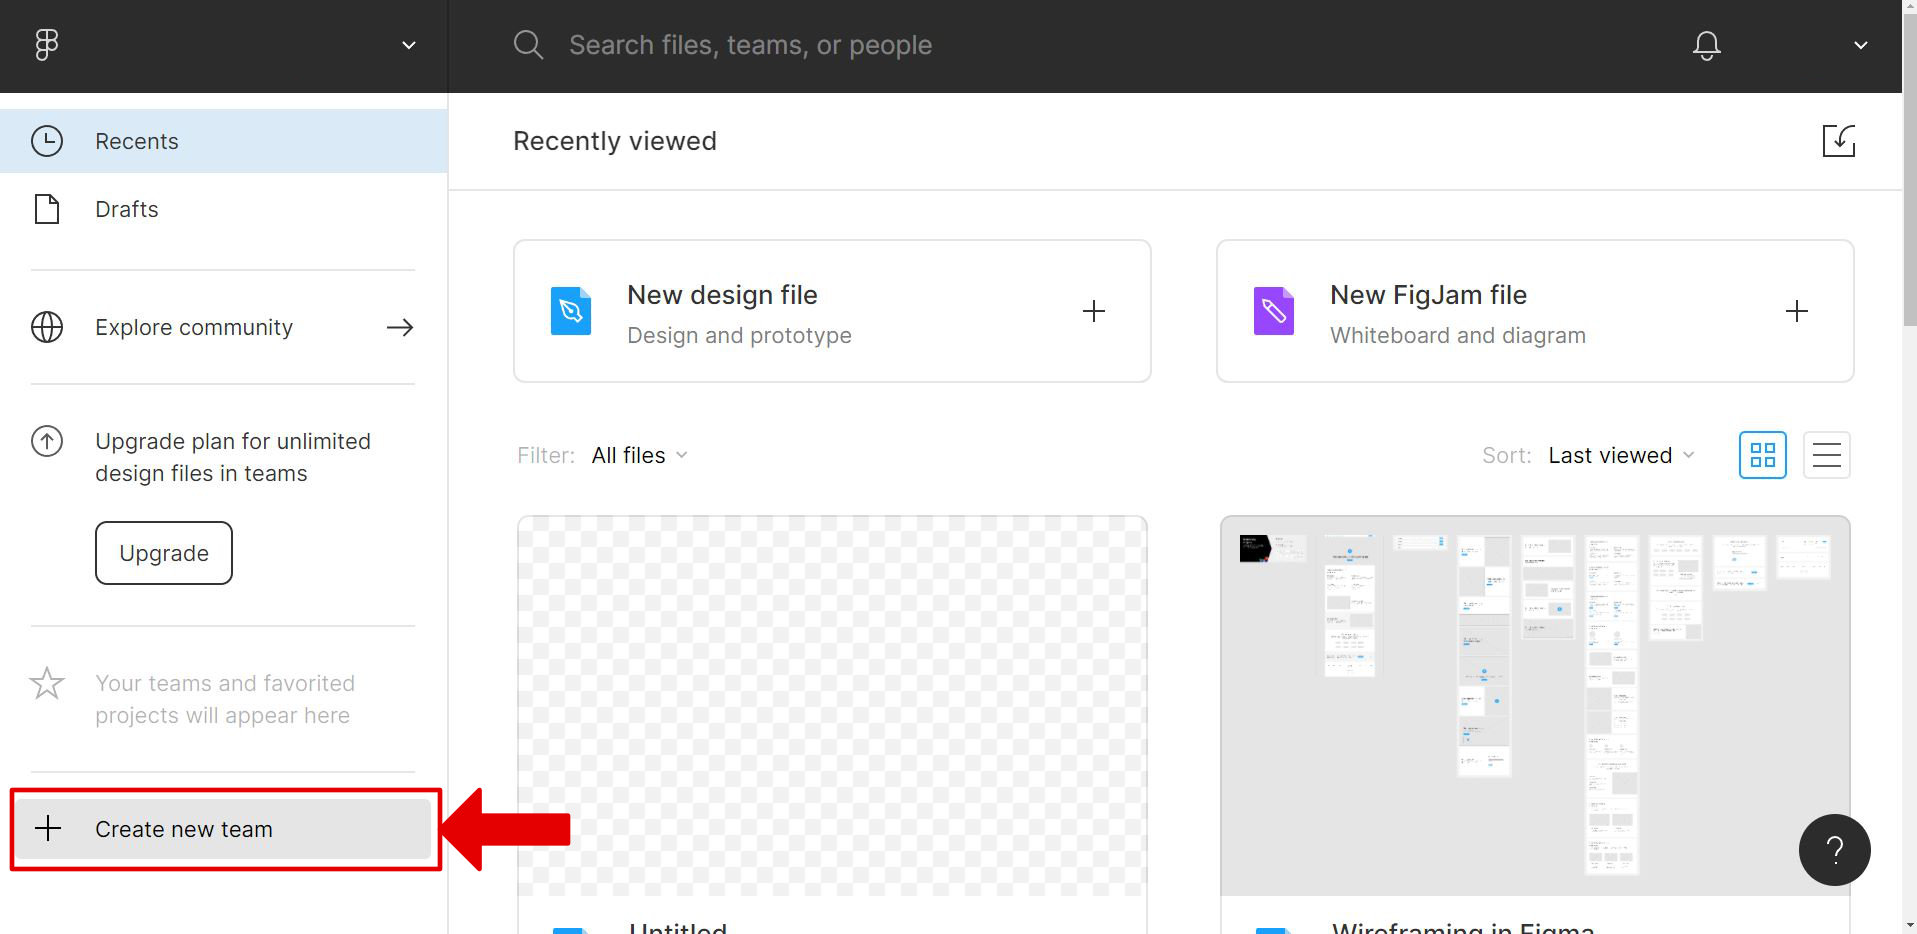
Click the area highlighted in red below.
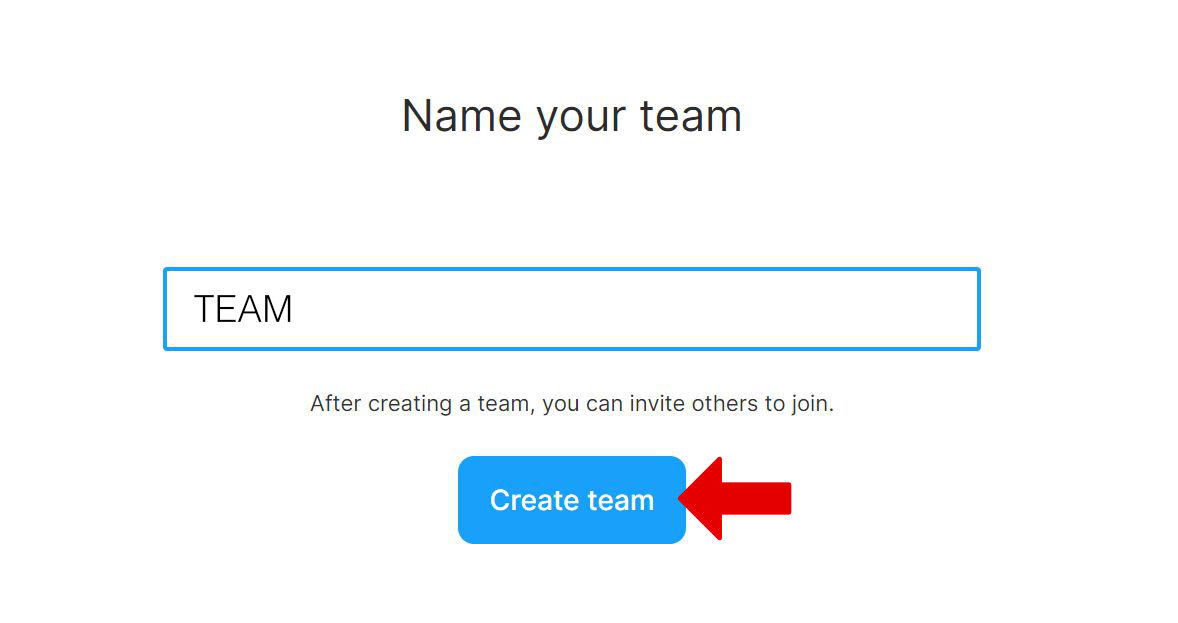
A team-name input screen comes up.
Type any team name and click the Create team button.
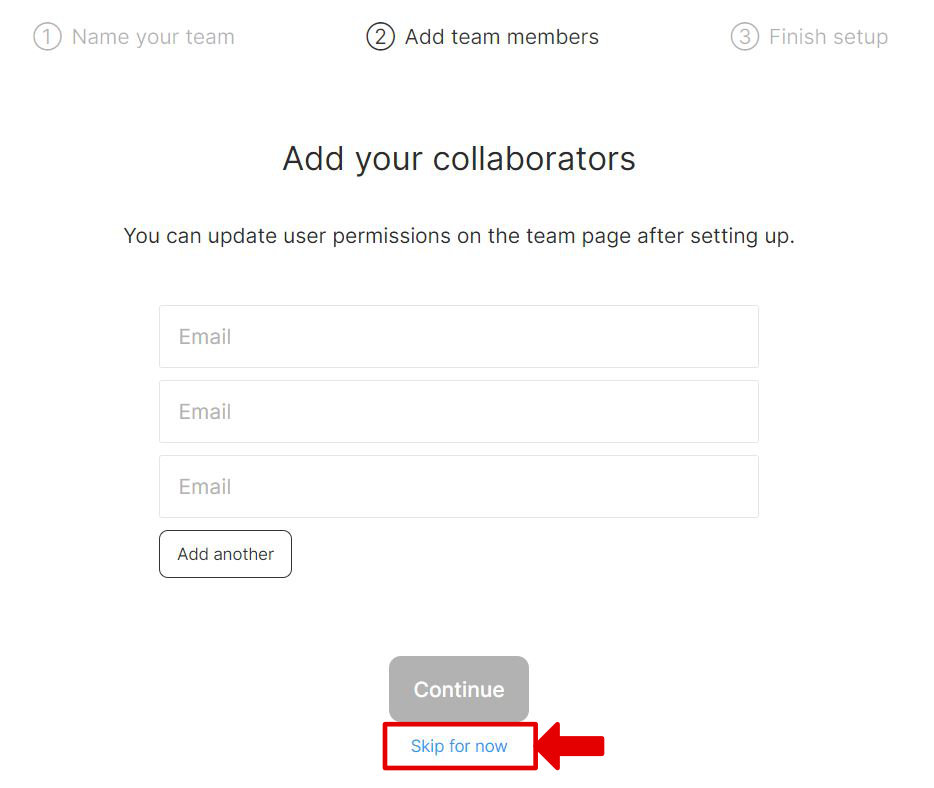
Next is a screen for inviting users to the team.
Since this is a solo setup on the free plan, click Skip for now at the bottom of the screen.
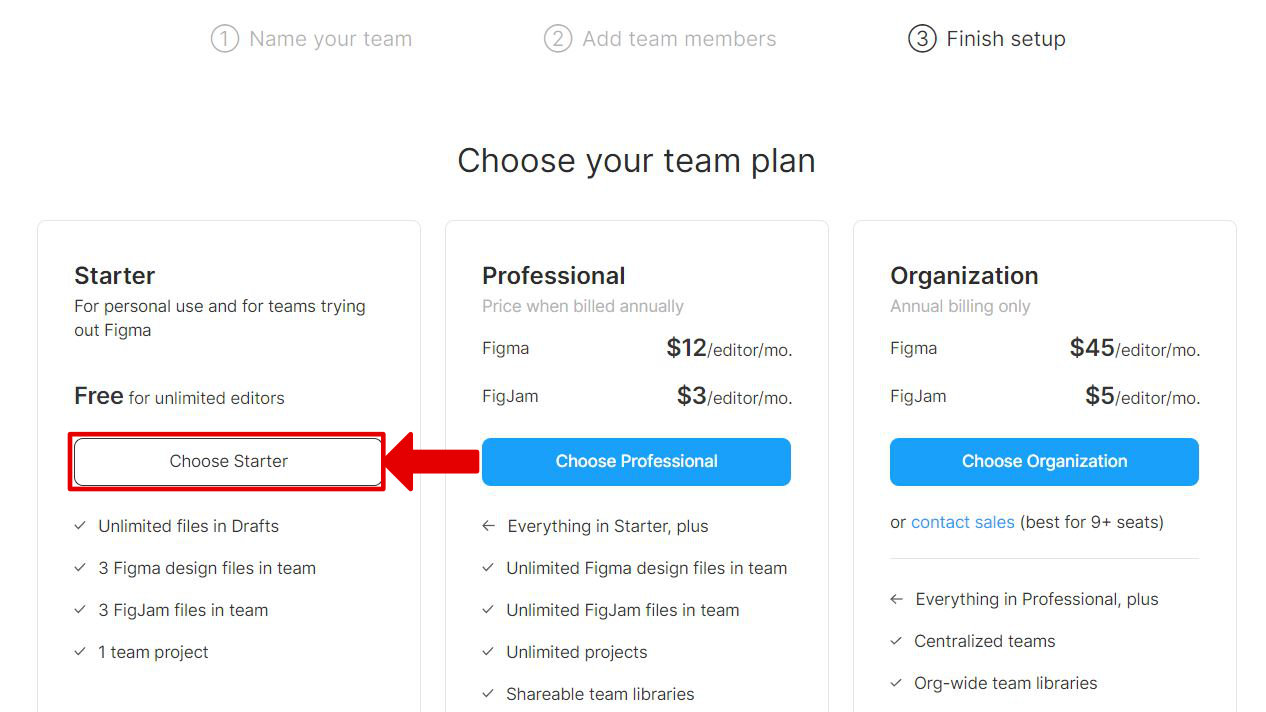
The last step is choosing a Figma plan.
Going with the free plan, so click Choose Starter in the red box. That finishes team creation.
Create a design file
With the team in place, the next step is creating the actual workspace — a design file.
Note that on the free plan you can only create up to three design files (limit as of writing — check the official pricing page for the current cap).
Creating the file itself is simple.
The team name shows up on the left side. Selecting it opens the screen below.
Clicking the area in the red box creates a new design file.
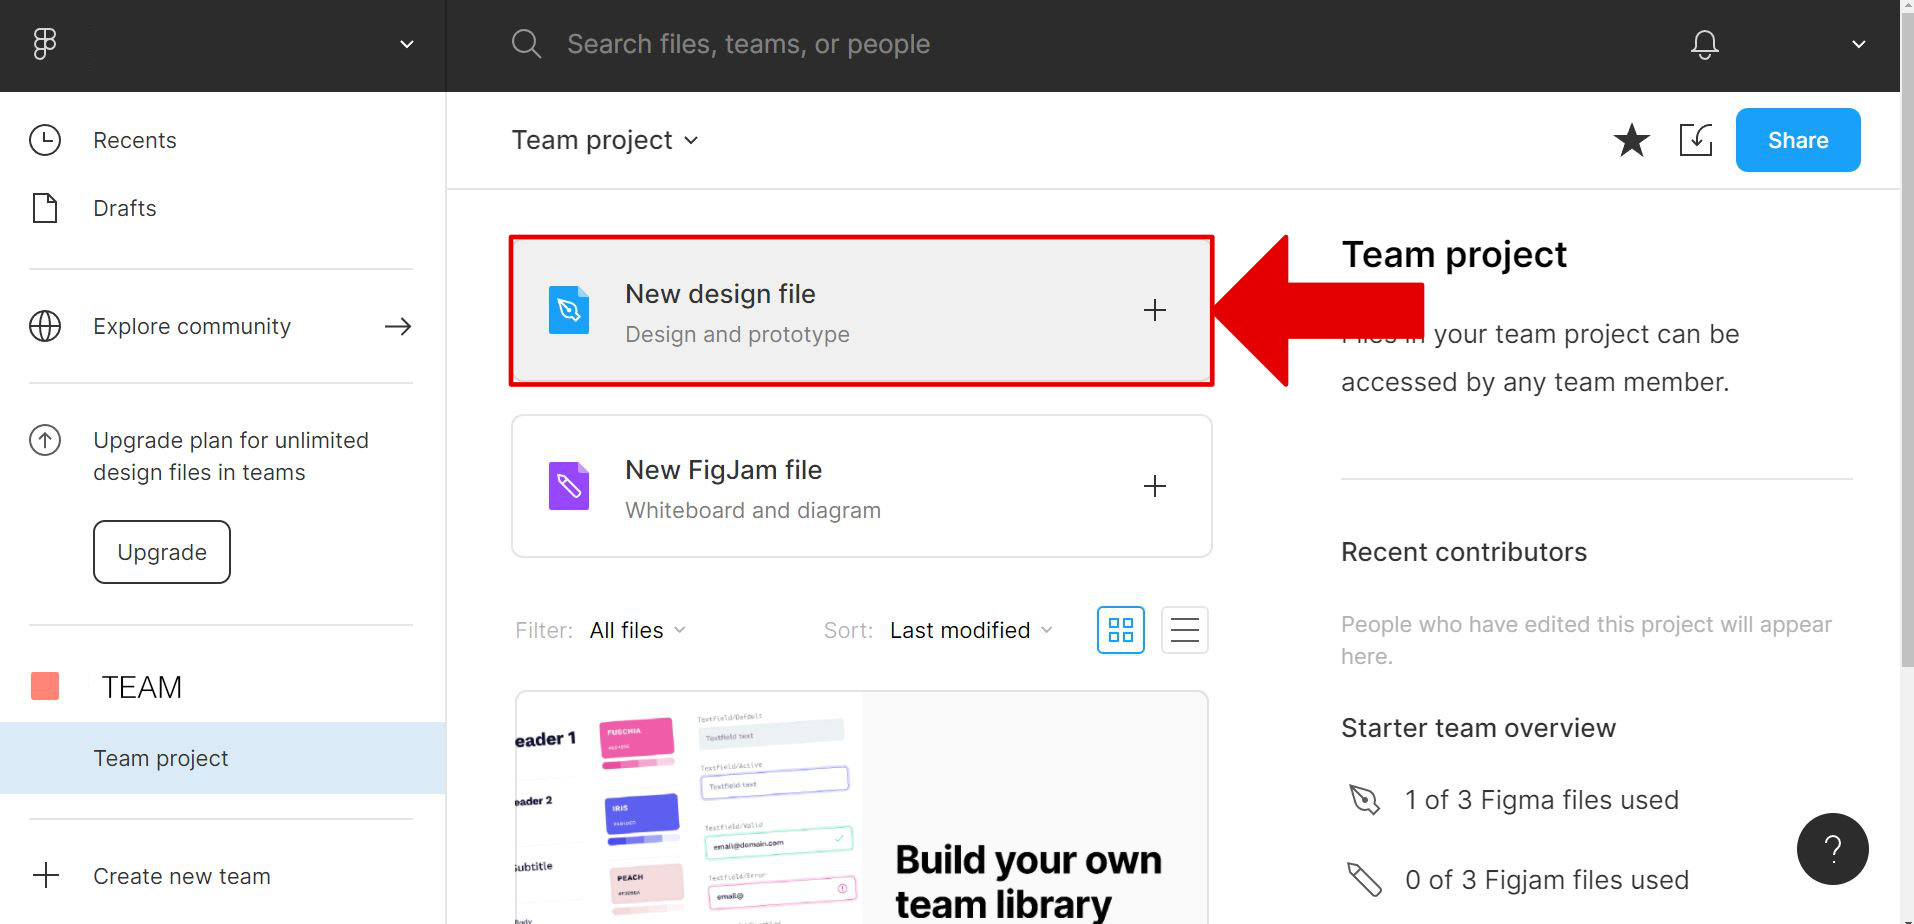
Once created, this screen opens — and that’s the end of setup.
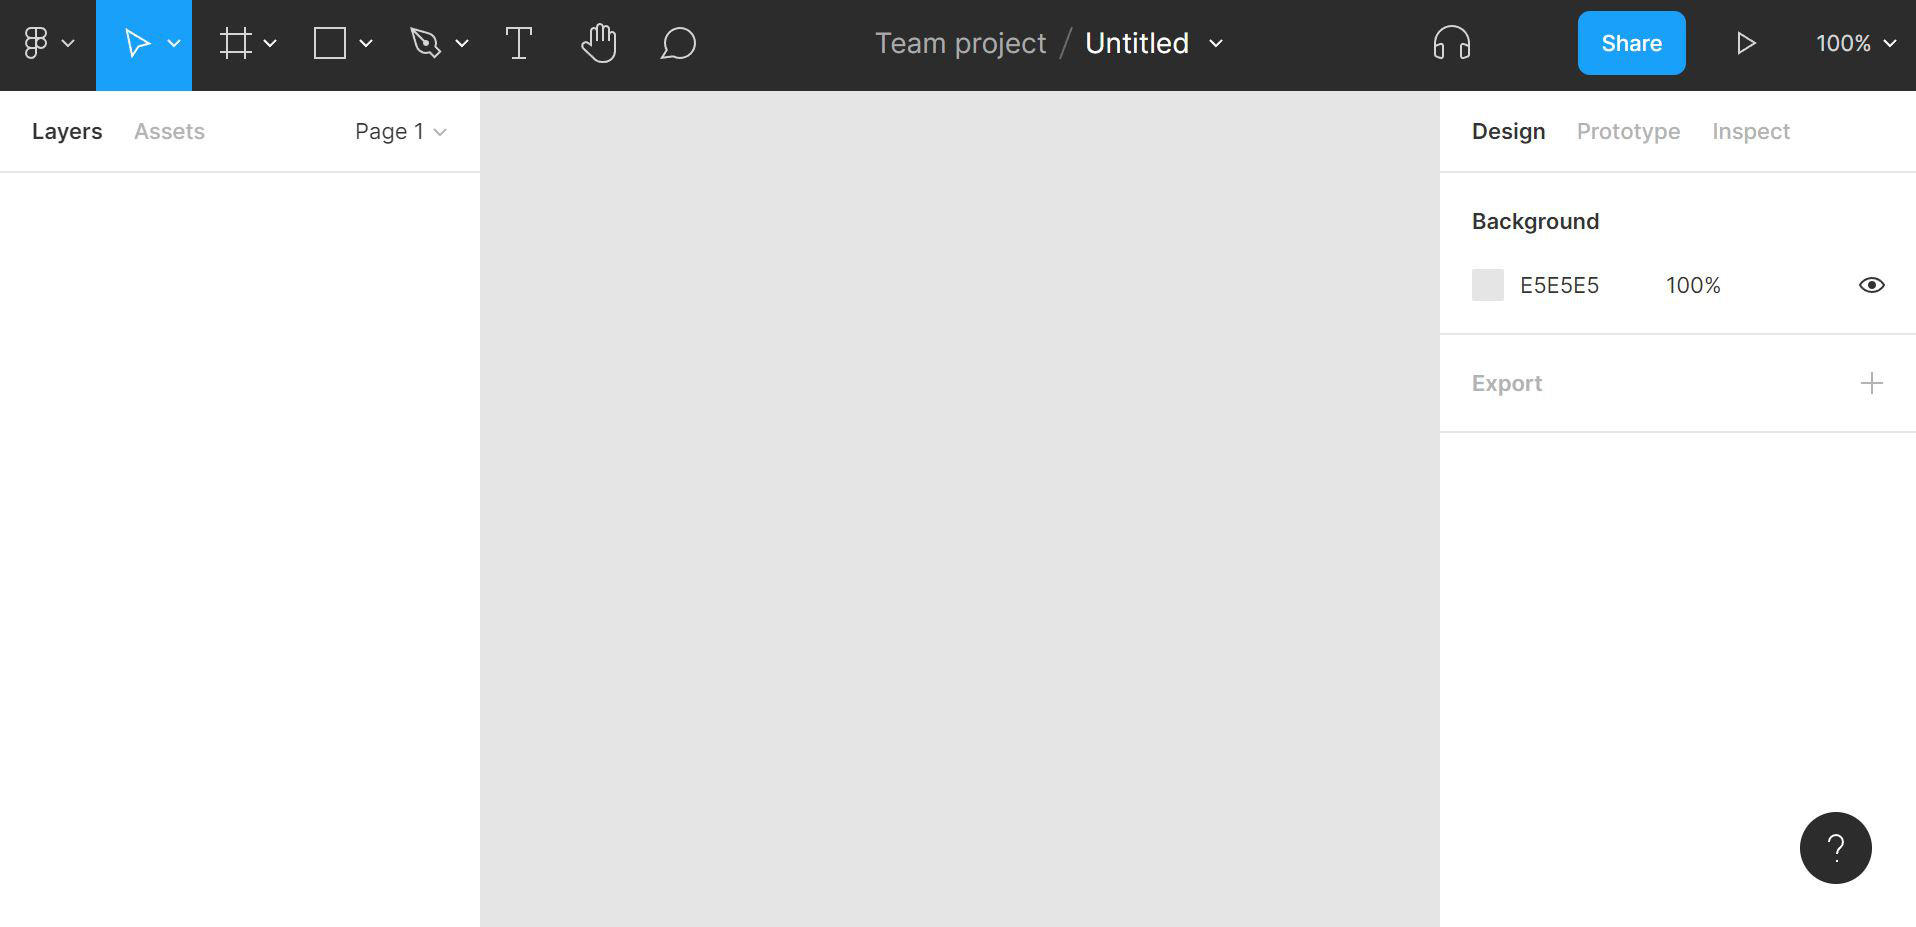
So that covers what Figma is, and getting through to an empty canvas.
What to actually do inside that canvas is the subject of the next post — the basics guide.
Related: How to use Figma — basics 1