
Contents7
2026-05-16 update: A post a few years old. The bones still hold up, but the tool UI and version are from when it was written and don’t match the current Figma.
Figma basics, part one. The previous post got as far as creating a design file. From here, I’m building out the screen itself.
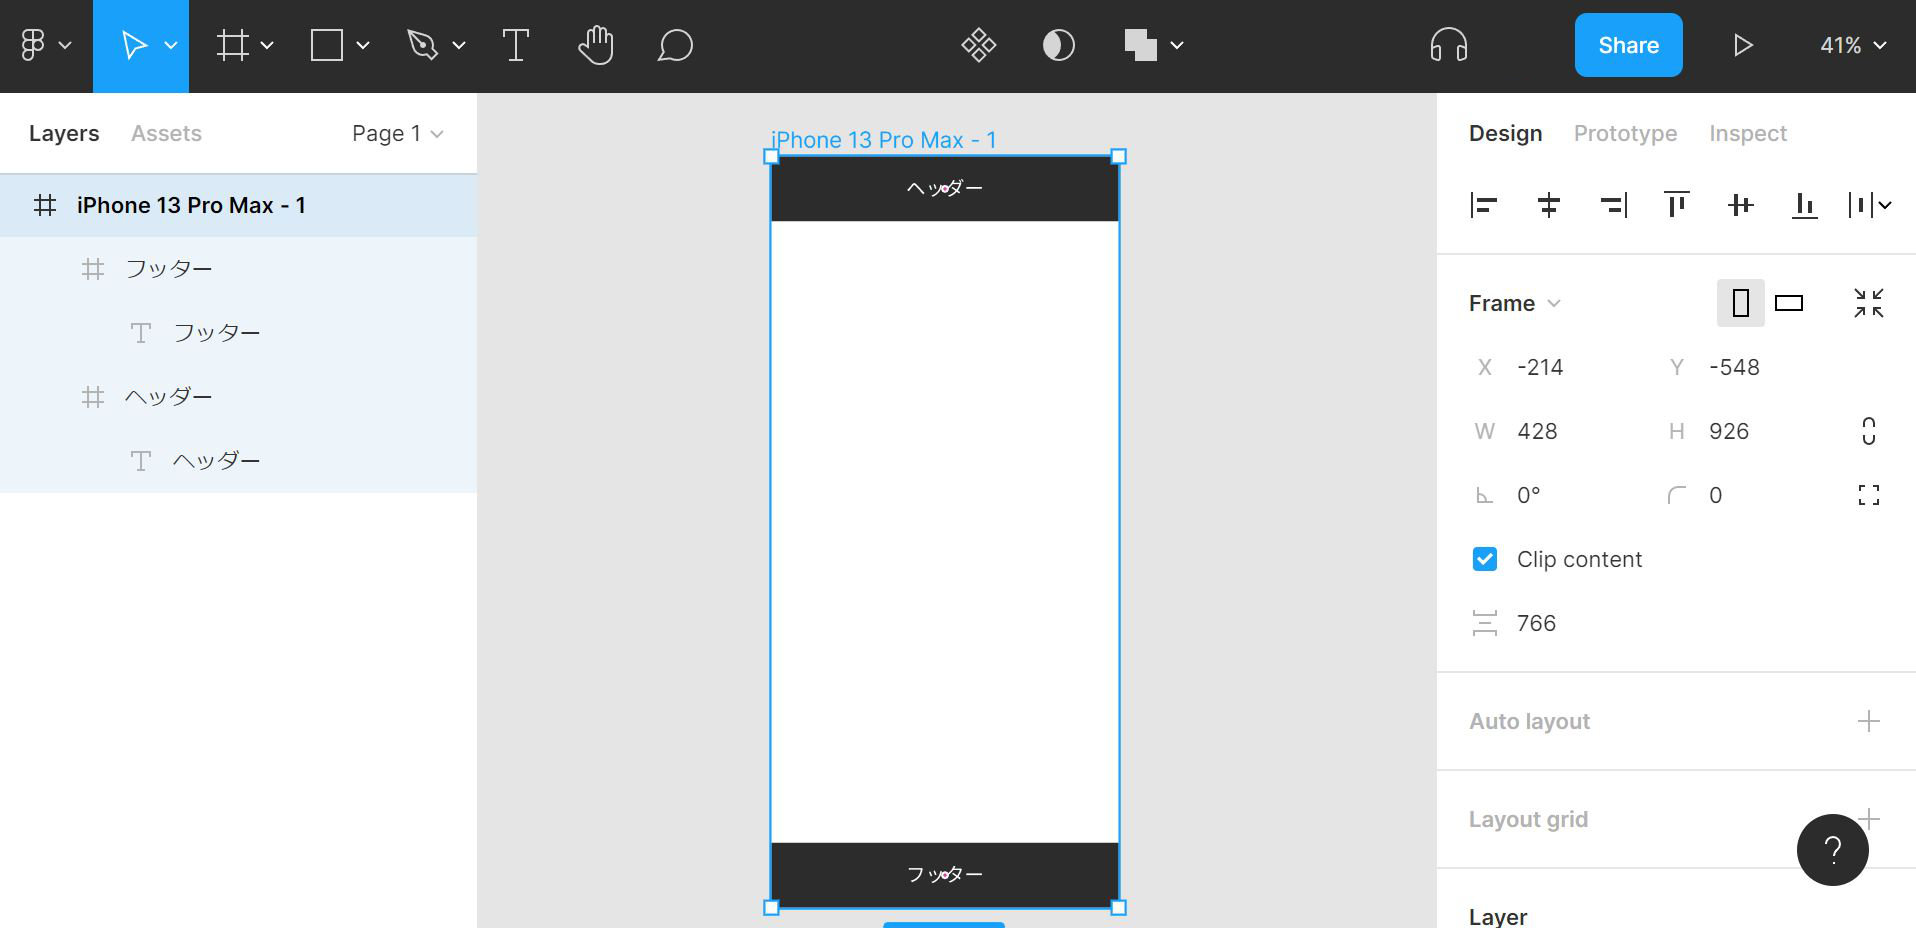
The finished version looks like the image below. A plain screen, but it covers the core Figma basics: frames, fills, text, and alignment.
The basic layout

Rough map of the screen:
- The header is the tooling
- The left sidebar is the objects you’ve created
- The right sidebar adjusts the object you’ve selected
Frame
First, the screen bounds.
In Figma, a screen is expressed using a part called a frame.
Frames are versatile — they’re used for the screen bounds, as outer containers for elements, and more. There are templates available, so the easiest place to start is picking one of those.
Point
- Click the frame icon in the header
- The frame templates appear in the right sidebar — pick the one you want
Clicking creates an iPhone 13 Pro Max frame in the center of the canvas.
The right sidebar shows the new frame labeled # iPhone 13 Pro Max.
With the screen bounds in place, next is the elements inside the screen.
Starting with the header.
The previous step used a frame template — this time, drawing a frame freely.
Point
- Click the frame icon in the header
- Move the cursor to where you want the frame
- Drag to draw
Freehand drawing isn’t pixel-precise, so aim for roughly the right size and fine-tune later.
Use freehand drawing for larger blocks like headers, and for the base shape of small elements like buttons.
Change the background fill
The freehand-drawn frame comes out plain white. To make it easier to see, I’ll give the header frame a background fill.
Fine adjustments like fill color happen in the right sidebar.
Point
- Select the element to adjust
- Find the Fill row in the right sidebar
- Click the + icon to the right of Fill
- Click the color code shown below
- Pick a color in the color picker
That switches the fill to black.
Move and resize elements
The header has its color, but the position and size are off.
Time to move it and resize it.
Point: repositioning
- Select the element to adjust
- Drag to where you want it
- Smart guides snap to center and edges
- Shift + drag locks movement to the x or y axis
Point: resizing
- Select the element to adjust
- Move the cursor to the bounding-box handle
- Drag to resize
That puts the header roughly where it belongs, at roughly the right size.
But the height is a few pixels off, so a quick fine-tune.
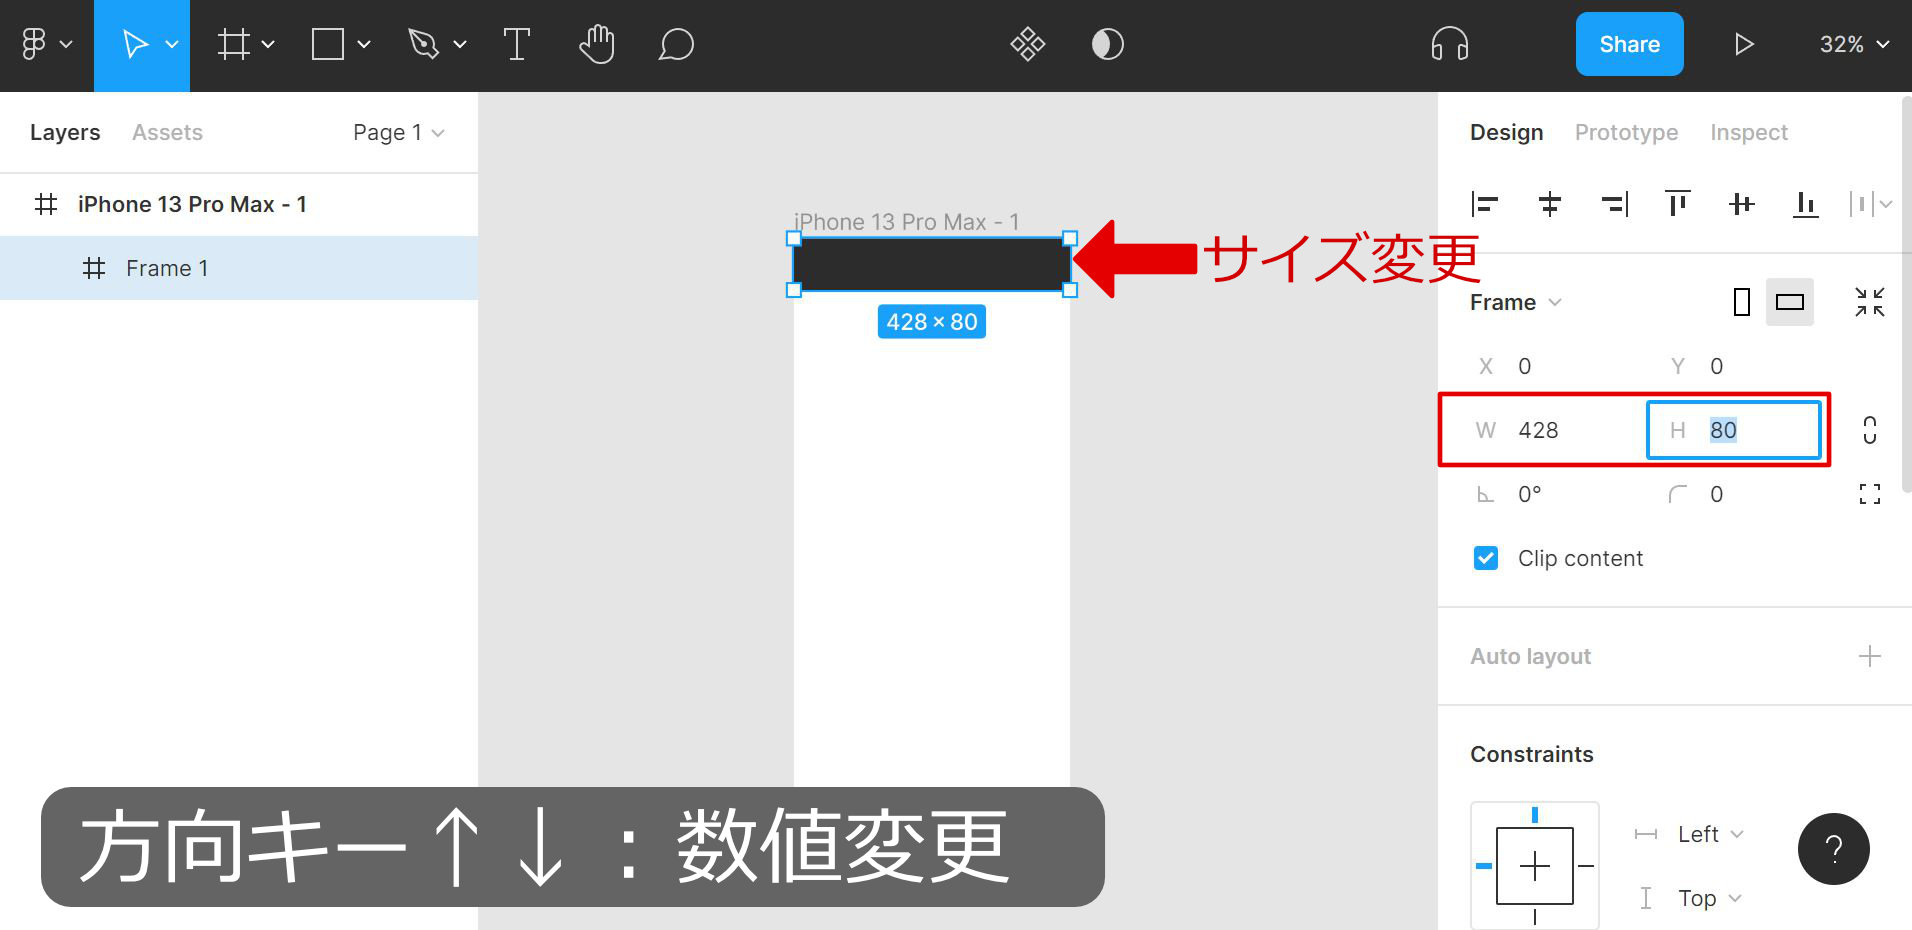
Point: fine-tuning element height
- Select the element to adjust
- Click the H field under Frame in the right sidebar
- Edit the value
- Arrow up / down nudges by 1 pixel
Under Frame, X and Y are position; W and H are width and height — all editable.
Enter text
With the header frame in place, next are the elements inside the header.
For the walkthrough, putting some text in the header.
Point
- Click the T icon in the header
- Click where you want the text
- Type once the cursor goes into edit mode
That puts the word “Header” inside the header.
Changing the font size
The text is too small as-is, so bumping the font size up to something readable.
Same as before — fine adjustments happen in the right sidebar.
Point
- Select the text to adjust
- Find the Text row in the right sidebar
- Find the numeric field in the lower right of the Text row
- Click the number
- Edit the value
- Arrow up / down nudges by 1 size unit
That gets the font size to something readable.
Align elements
Font size sorted. Next, the text position.
Same as before — fine adjustments happen in the right sidebar.
Point: horizontal center
- Select the element to adjust
- In the right sidebar, click the icon with a vertical line through the center
Point: vertical center
- Select the element to adjust
- In the right sidebar, click the icon with a horizontal line through the center
The other icons on the same row are the rest of the alignment options.
Header done. Next, the footer.
Same design as the header, so copying the header across.
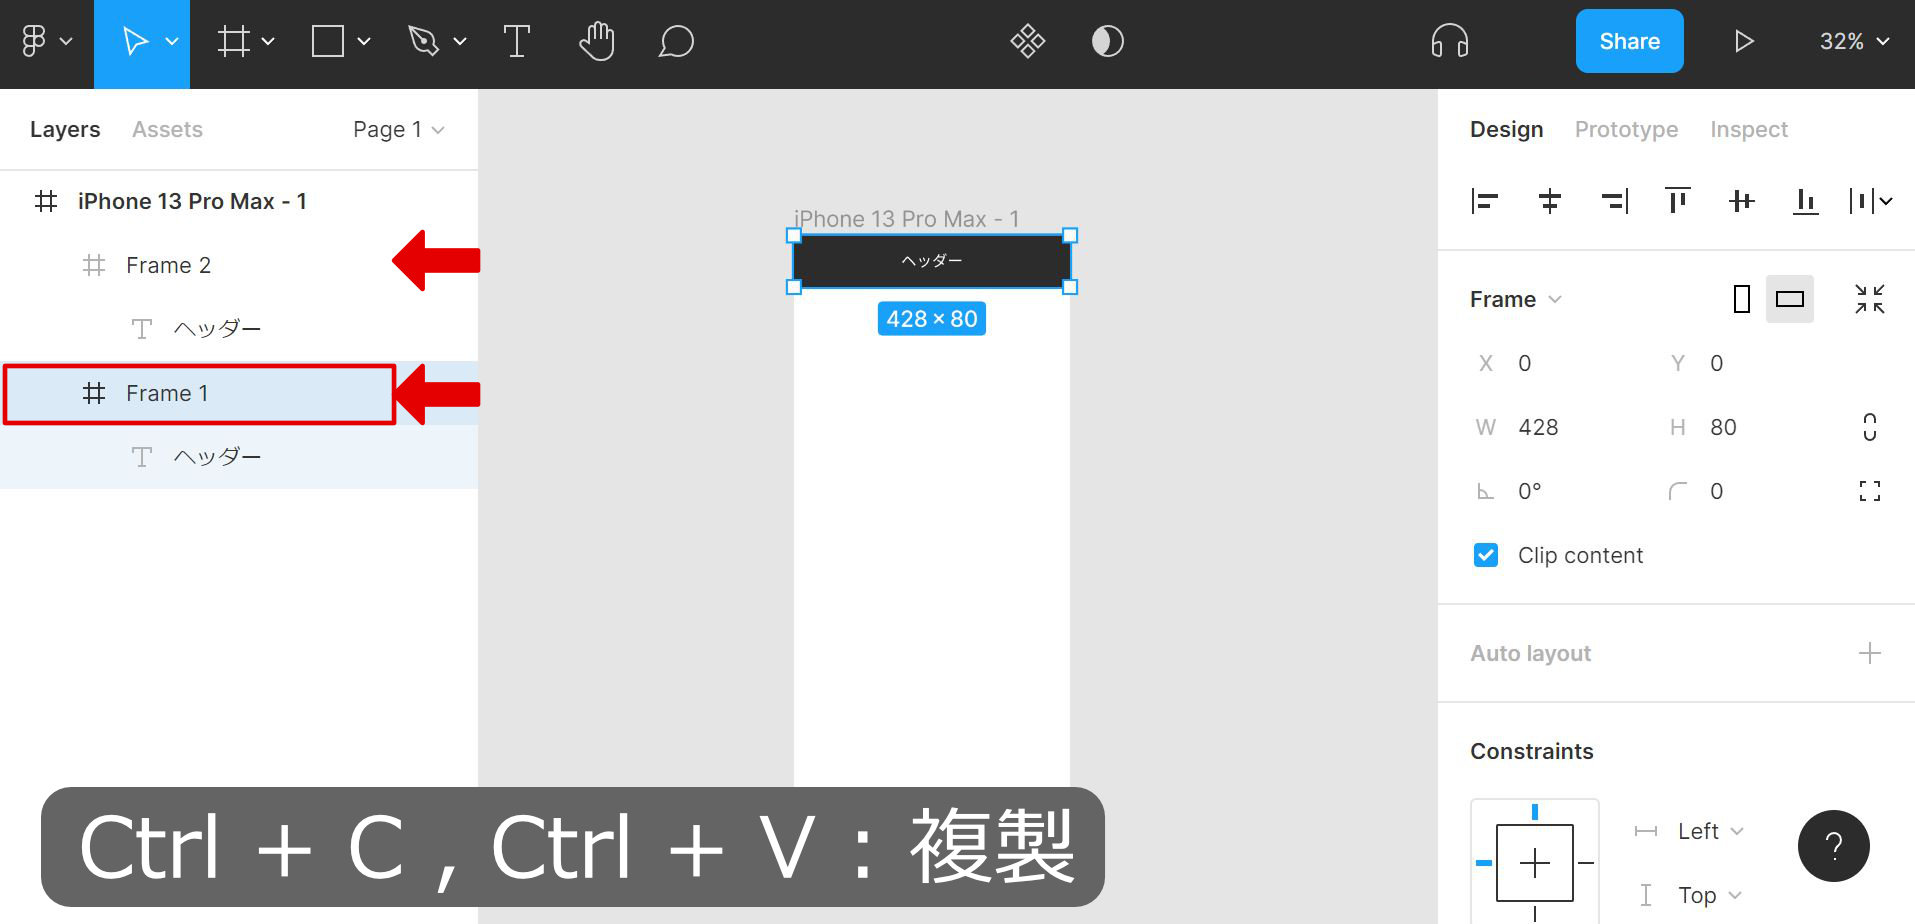
Point: duplicating an element
- Select the element to duplicate
- Press Ctrl + C
- Press Ctrl + V
That gives the footer copy.
It sits at the same position as the header, though — needs to move to the bottom.
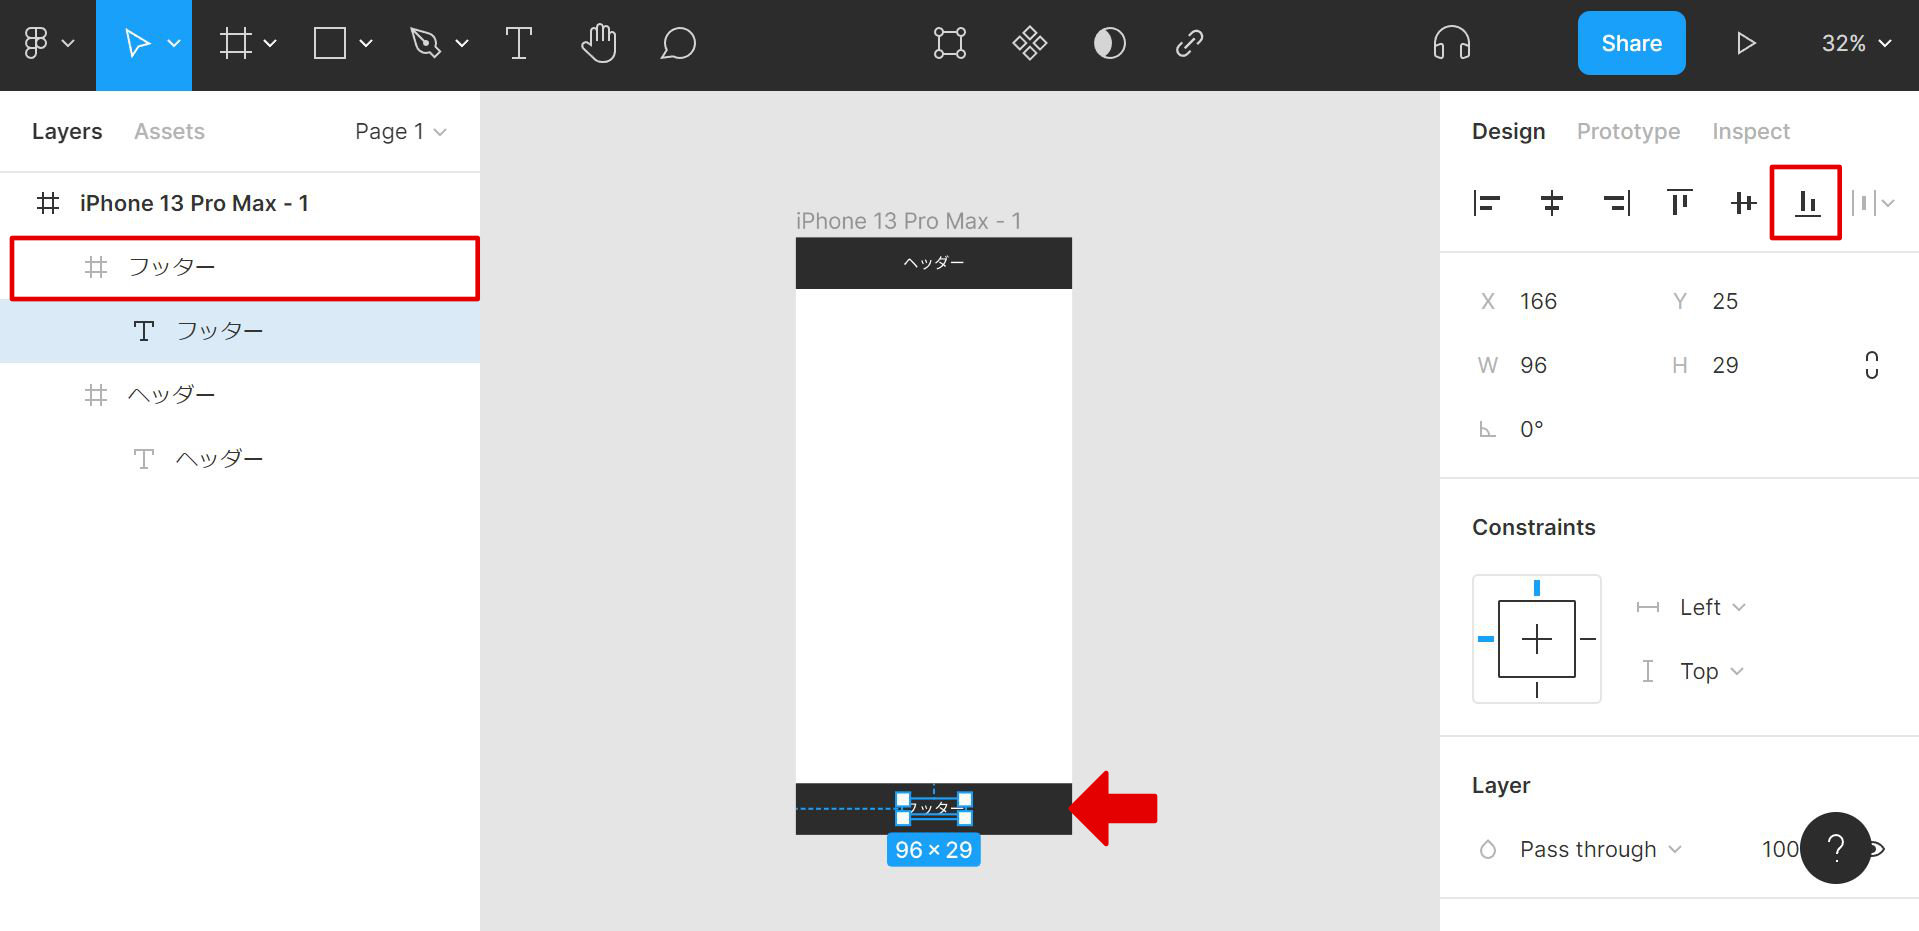
Point: align to bottom
- Select the element to adjust
- In the right sidebar, click the icon with a horizontal line at the bottom
Footer done.
That covers the first set of Figma operations. Part two picks up the core features worth learning early when you start using Figma seriously.